How To: Create a Public Map
With Honeycomb Maps, you can create and share public maps built on Google Drive data for free. Your public maps can have an unlimited number of viewers.
You can view an example of a public Honeycomb map here: https://app.honeycombmaps.com/maps/shared/1xz2BvxD9yQ8u7bPuKsHZpYwiHWg61Uq3?provider=gdrive
This guide will show you how to create and share a public map that anyone can view.
Prerequisites
- A completed Honeycomb map
- Understanding of privacy implications
Step-by-Step Guide
1. Prepare Your Map
The first step is to have a Honeycomb Map that you're ready to share. You can take a look a our Getting Started Guide for instructions on how to create a map.
2. Open Google Drive Sharing Settings
Option 1: Click on the 'Share' icon in the upper-right-hand side of the Honeycomb window. This will open an embedded google drive sharing dialog.
Option 2: Find your map file in your Google Drive, and click on 'Share'.\
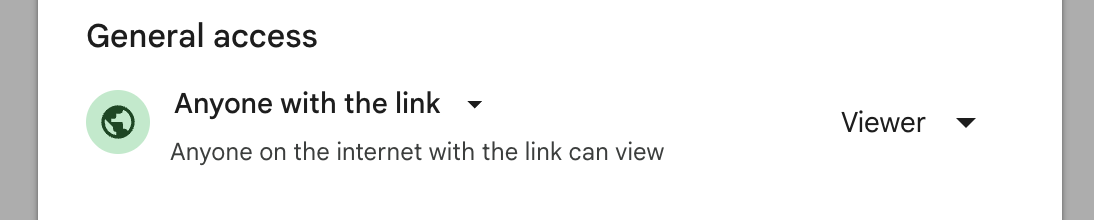
3. Share with 'Anyone with the link'
Select the option 'Anyone with the link' and set the permissions to 'Viewer'
WARNING
Do not copy the sharing link here - it will direct the user to Google Drive, rather than the interactive map. Instead, copy the Honeycomb Maps link in the next step.
4. Generate Public Honeycomb Maps Link
In Honeycomb, open the 'Save/Share Map' pane in the Edit Map sidebar.
You will see two new pieces of text that can be copied: a link to the public map, and a piece of code that can be used to embed the map.
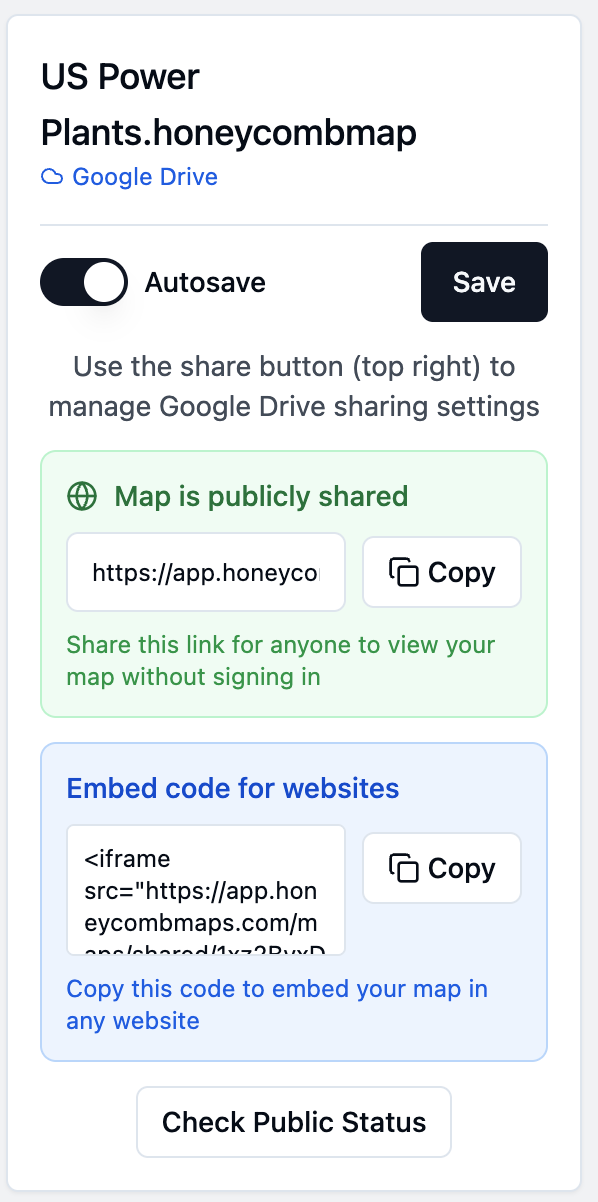
Click on the 'Copy' button in the 'Map is publicly shared' box to copy a link to the map.
That's it - you now have a public map! With Honeycomb Maps, you don't need to worry about hosting or usage limits.
Privacy Considerations
- Public maps can be viewed by anyone with the link
- Consider data sensitivity before making maps public
- Review your organization's data sharing policies
Next Steps
- Learn how to embed your map on a website
- Explore save and share options